Antiques & Collectibles Architectural Ceramics Artists & Potters Ceramics in the USA Ceramic Societies Ceramics & Women Ceramic Supplies Commercial Sites Competitions Educational Institutions Events Calendar Galleries Glass Arts Paperclay Glaze Software Health and Safety History & Archaeology Industrial Ceramics Kilns & Firing Magazines Museums Porcelain Potteries Raku Repair & Restoration Sculpture Styles Techniques Teapots Technical Info Theory Tiles Tuition & Workshops Virtual Ceramics Wedgwood West Coast Funk Woodfiring
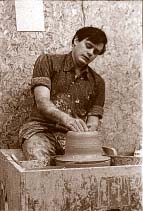
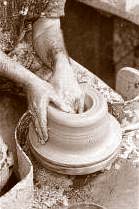
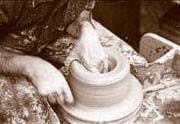
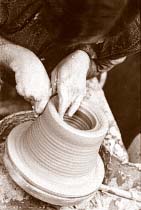
How to Throw a Large Pot Images by Edouard Bastarache, text by Steven Goldate
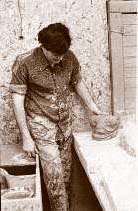
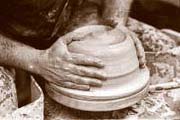
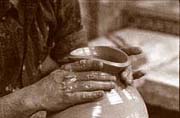
Patting the clay into a round form, ready for centering.
Bringing the clay roughly into the initial shape.
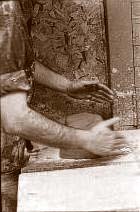
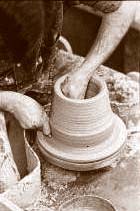
Pulling out the wall.
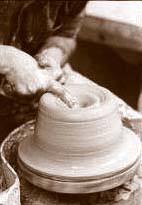
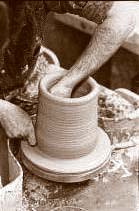
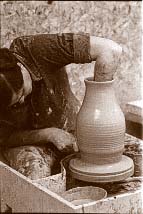
Giving shape to the form.
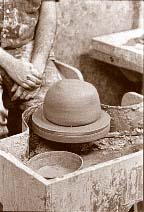
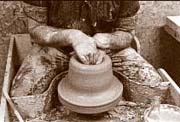
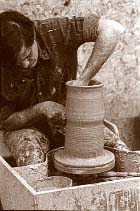
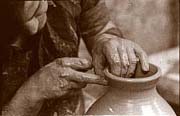
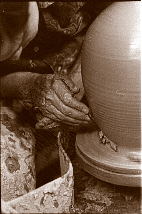
'Collaring', i.e. squeezing the neck to bring it in.
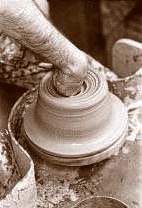
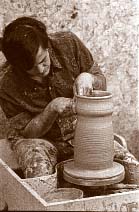
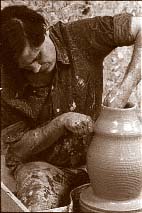
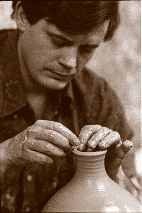
Consolidating the neck.
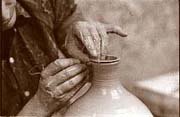
Removing the cut off rim with a swift flick, while the wheel is turning.
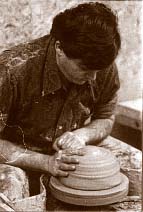
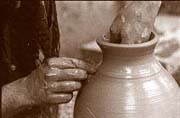
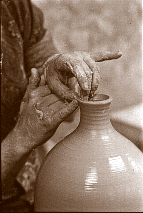
Refiing the neck.
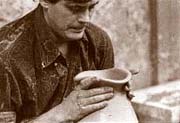
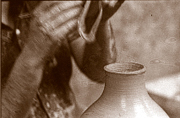
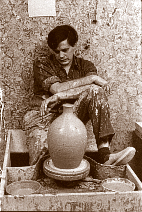
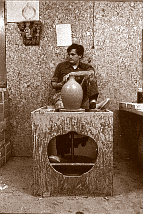
Contemplating the finished piece.
Many thanks to Edouard Bastarache, , for supplying the above images.
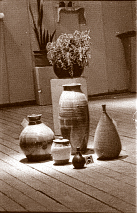
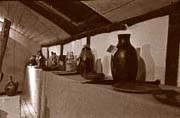
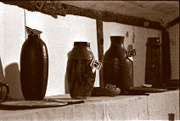
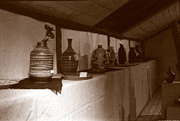
Some finished work by Edouard Bastarache using the techniques outlined above:
More Articles